Step 1: Important Checks Before Measuring For Perfect Fit Blinds
Are Your Windows/Doors Suitable For Perfect Fit Blinds?
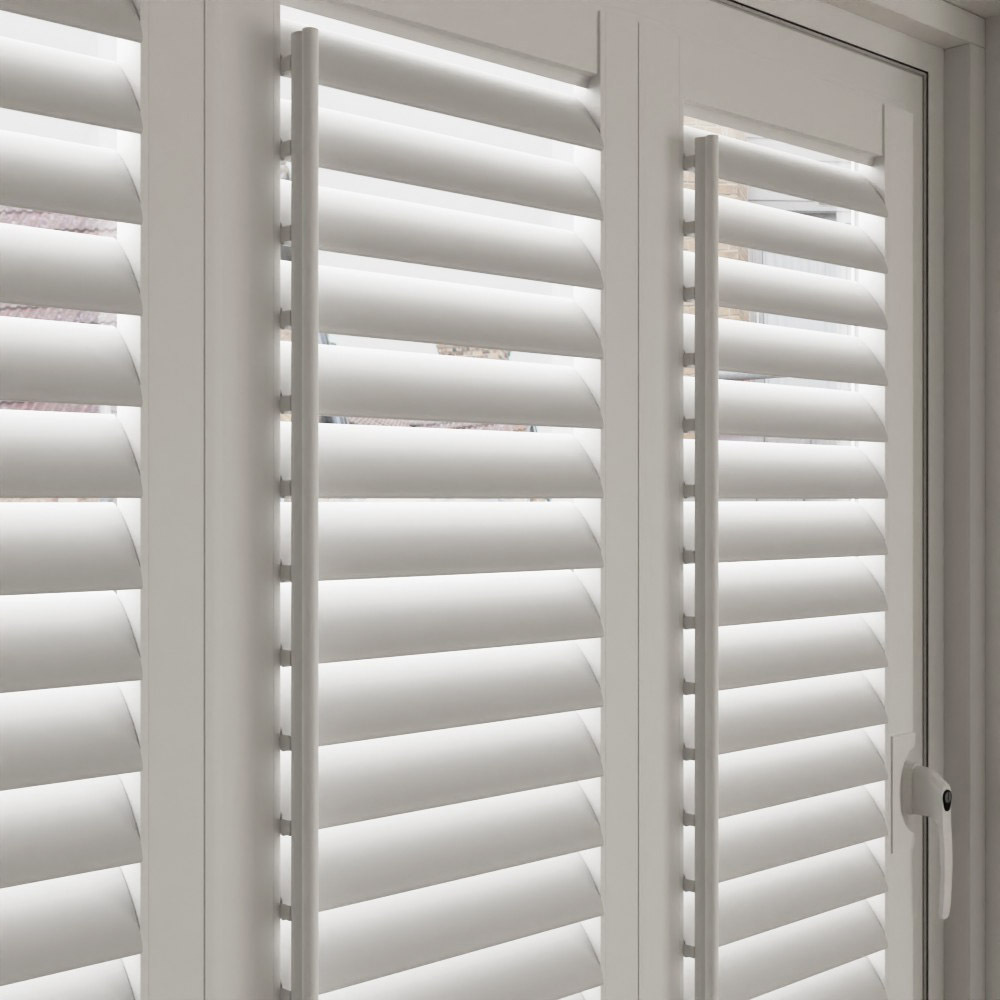
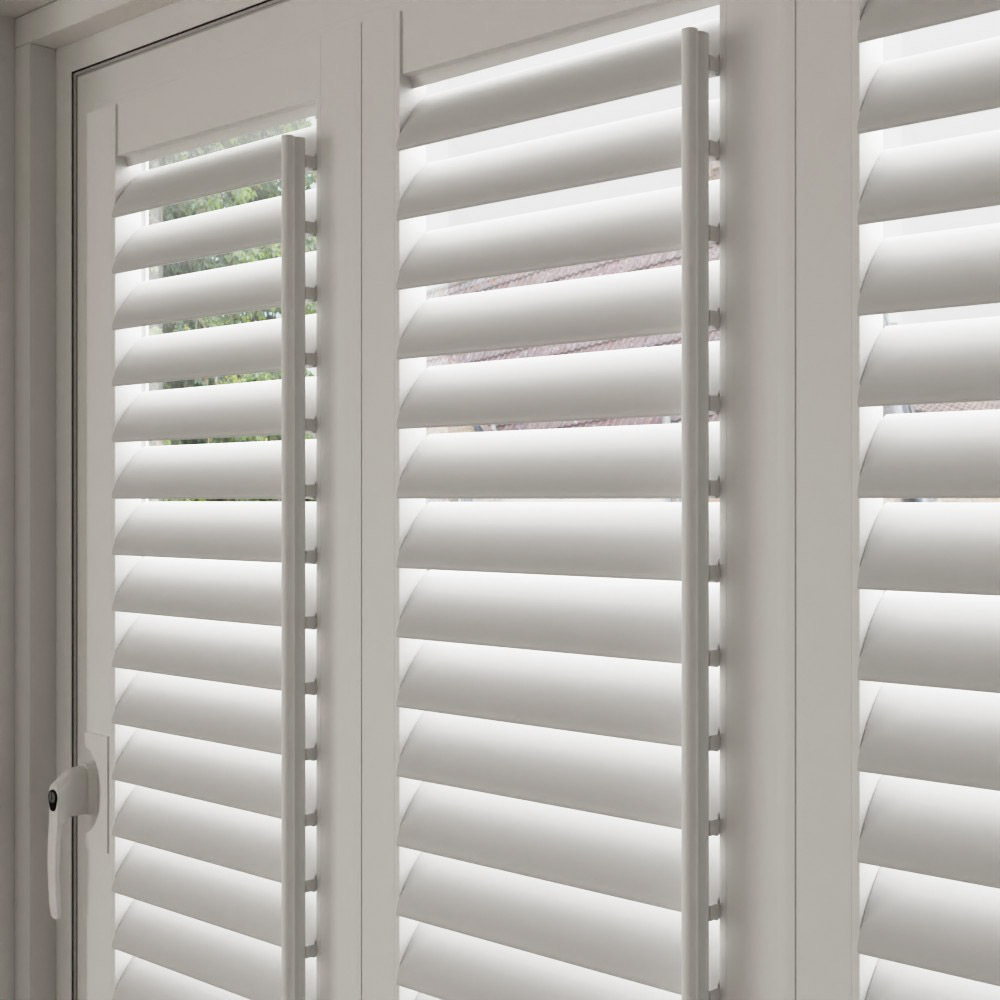
Perfect Fit blinds can only be installed on uPVC or aluminium-framed windows and doors due to the specific brackets they require. They cannot be fitted to wooden frames under any circumstances. They are also not compatible with sliding doors, as the frame extends approximately 23mm from the surface, which obstructs their movement. Additionally, they may prevent some folding windows and doors from closing completely flat against each other.
Do Your Windows/Doors Have A Rubber Beading?
Do Your Windows/Doors Have Enough Clearance?
Is Your Beading On Your Windows/Doors Suitable For Perfect Fit Blinds?
Beading Width
Use a tape measure to check the width of the beading from the edge of the frame. Perfect Fit blinds can only be installed if the beading width is less than 6mm.
Beading Suitability
To check if the beading is suitable, take a credit card or a similar flat object and try to slide it between the glass and the beading. For easier insertion, you can apply a small amount of washing-up liquid to the card. If you cannot insert the card to a depth of at least 10mm, then Perfect Fit blinds will not be compatible with your window.
Bead Depth
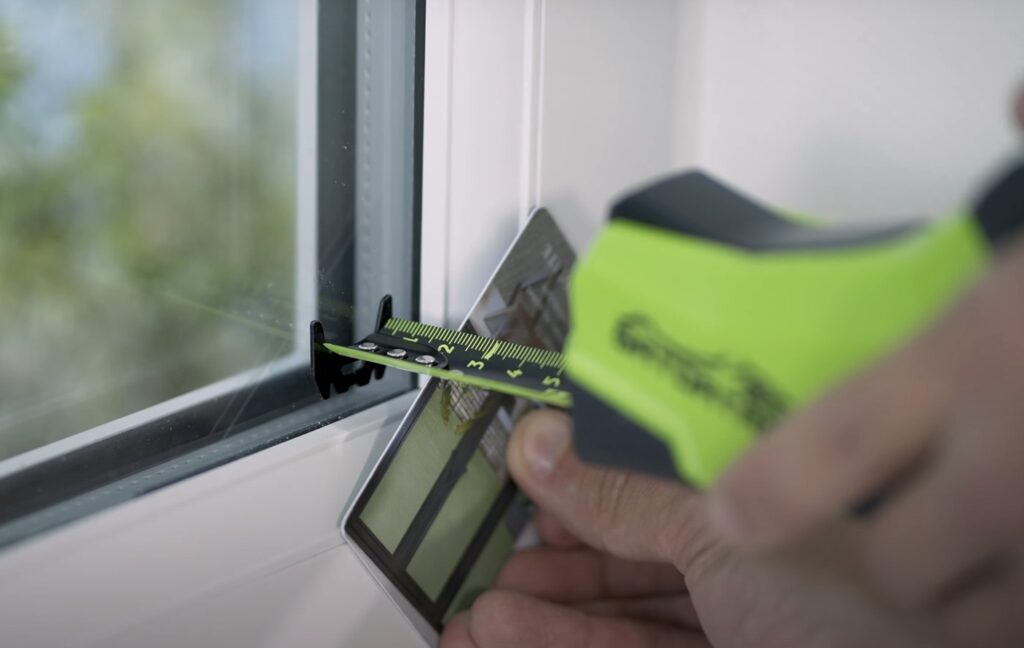
Step 2: Measuring Your Bead Depth
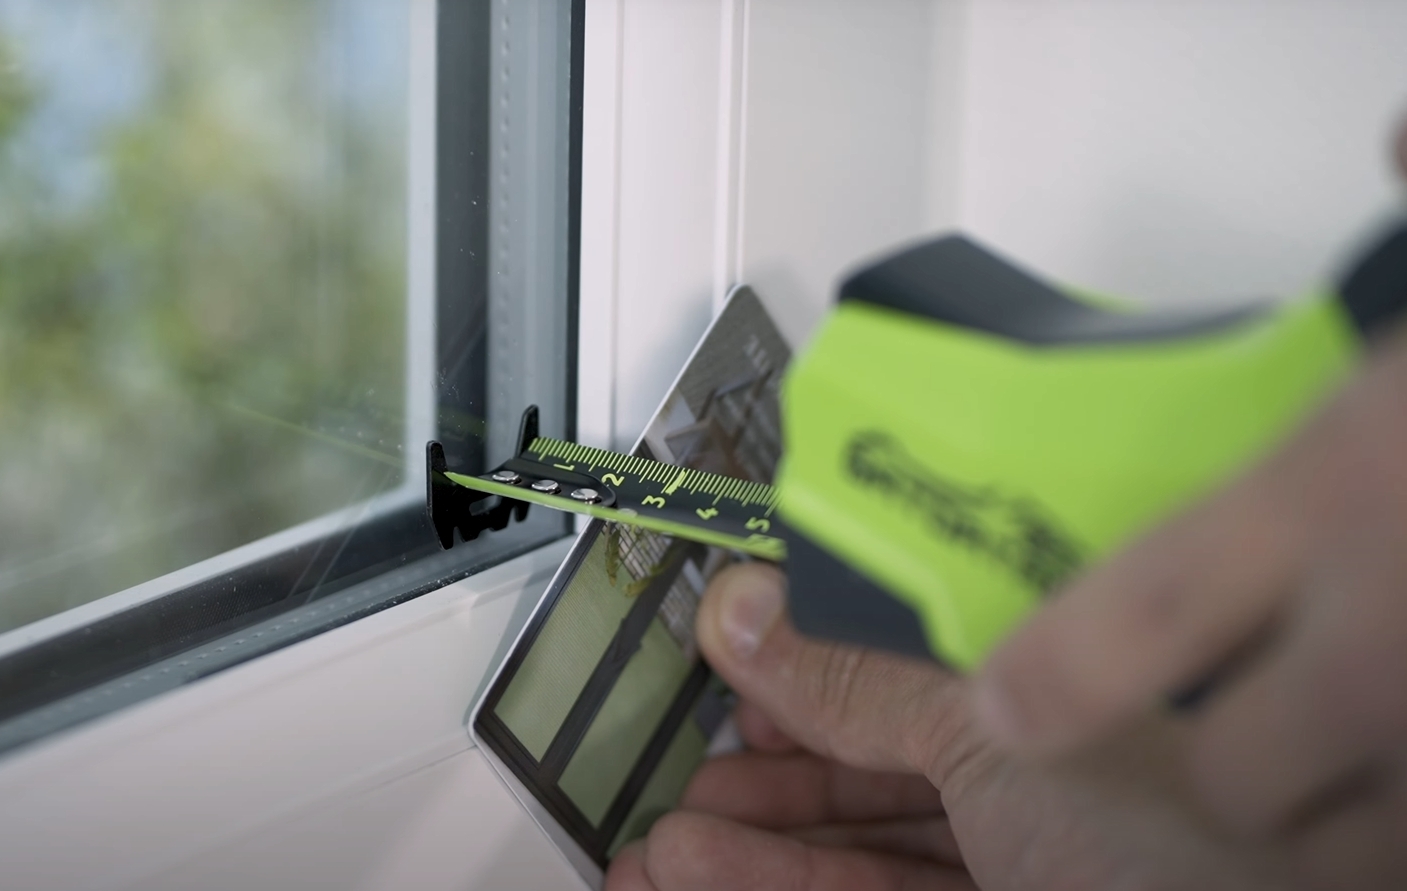
Take a credit card/ruler or a similar flat object and position it against the window frame so that it slightly overlaps the glass. Then, using a tape measure, check the gap between the glass and the card. This depth typically falls between 18mm and 30mm. You’ll need this measurement when choosing the correct beading depth for your bracket size when ordering your blinds.
Please note: If your bead depth is less than 18mm or greater than 38mm, then your windows are not suitable for perfect fit blinds.
Width

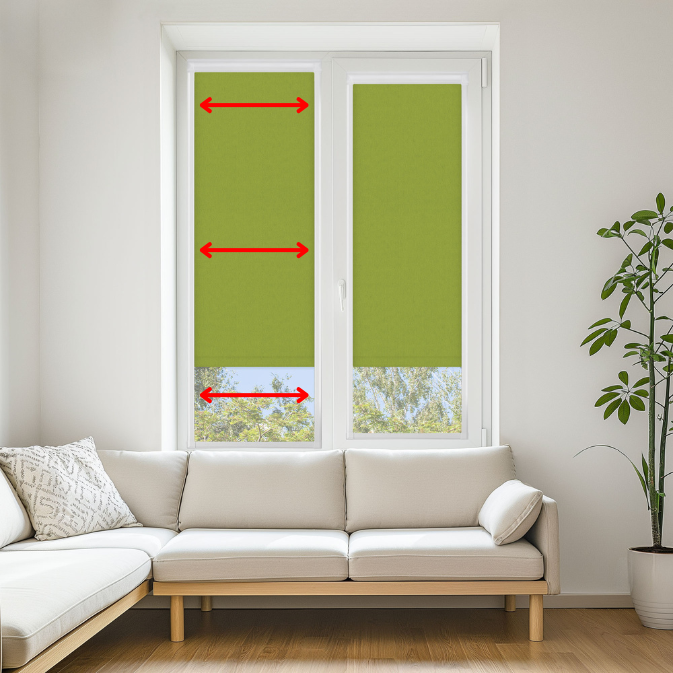
Step 3: Measuring Your Width
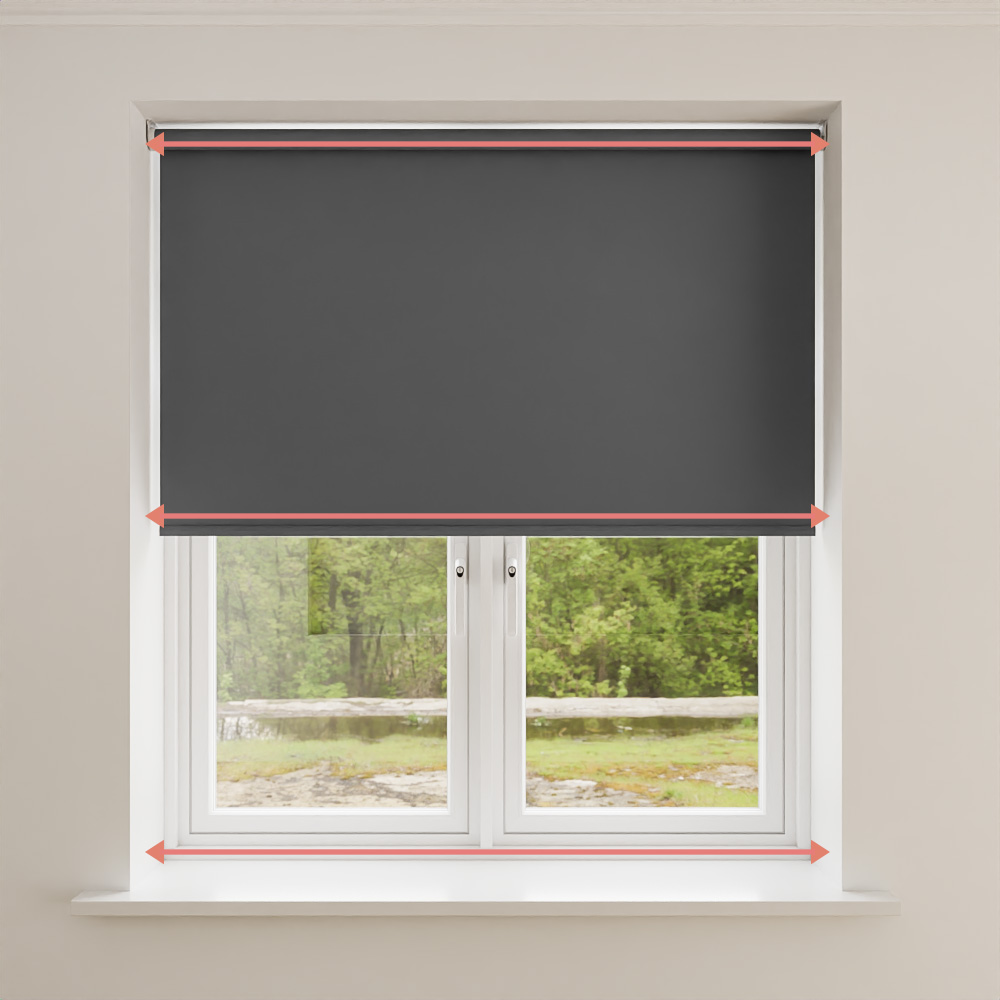
Use a steel tape measure to determine the width of the glass pane, excluding the beading and window frame. Measure in at least three different spots where the blind will be installed. When ordering your blinds, use the smallest measurement to ensure a proper fit.
Drop

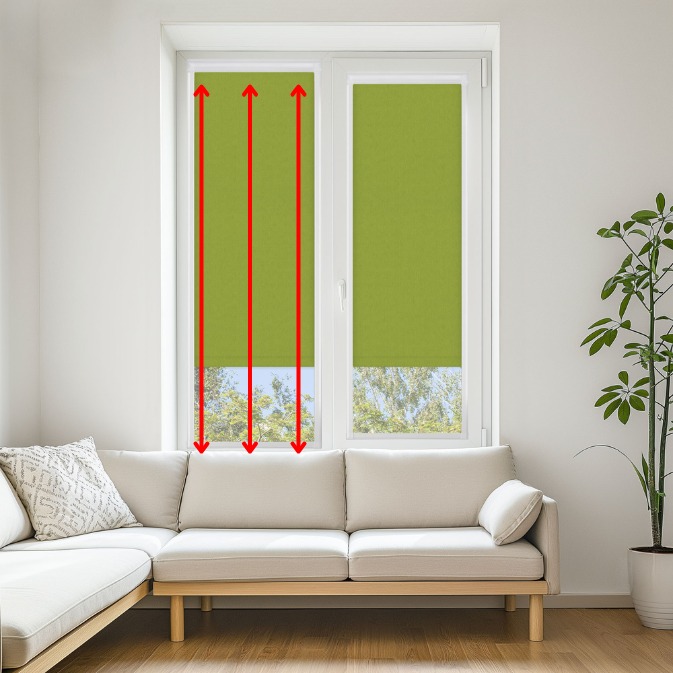
Step 4: Measuring Your Drop
Does Your Window/Door Have A Handle? - Handle Measuring Guide Below
Please Note: Most patio and French doors do not require a handle cut-out, as they typically have enough clearance for the handle to operate without obstruction. However, it’s important to check your handle depth. You will need a minimum of 30mm for the handle to clear the shutter frame, though most patio and French doors have a depth of around 50mm, which is sufficient.
For standard windows, handle depths are usually between 10mm and 20mm, which is not enough for the shutter to clear the frame. In these cases, a handle cut-out will be required to ensure proper functionality.
Bottom Handle
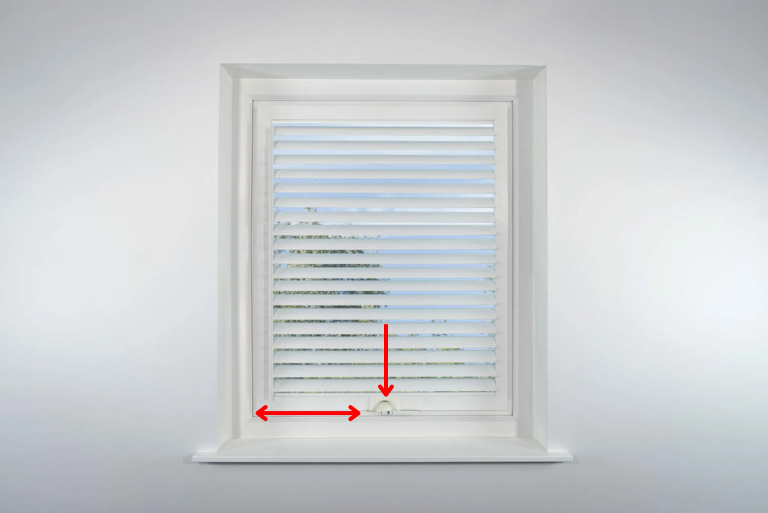
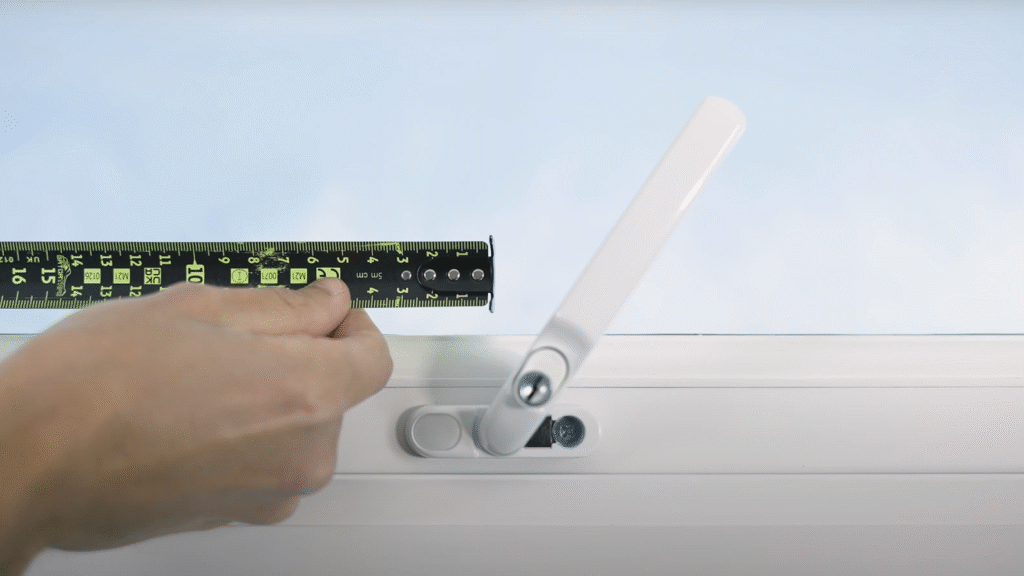
Step 5: Measuring Your Bottom Handle Location
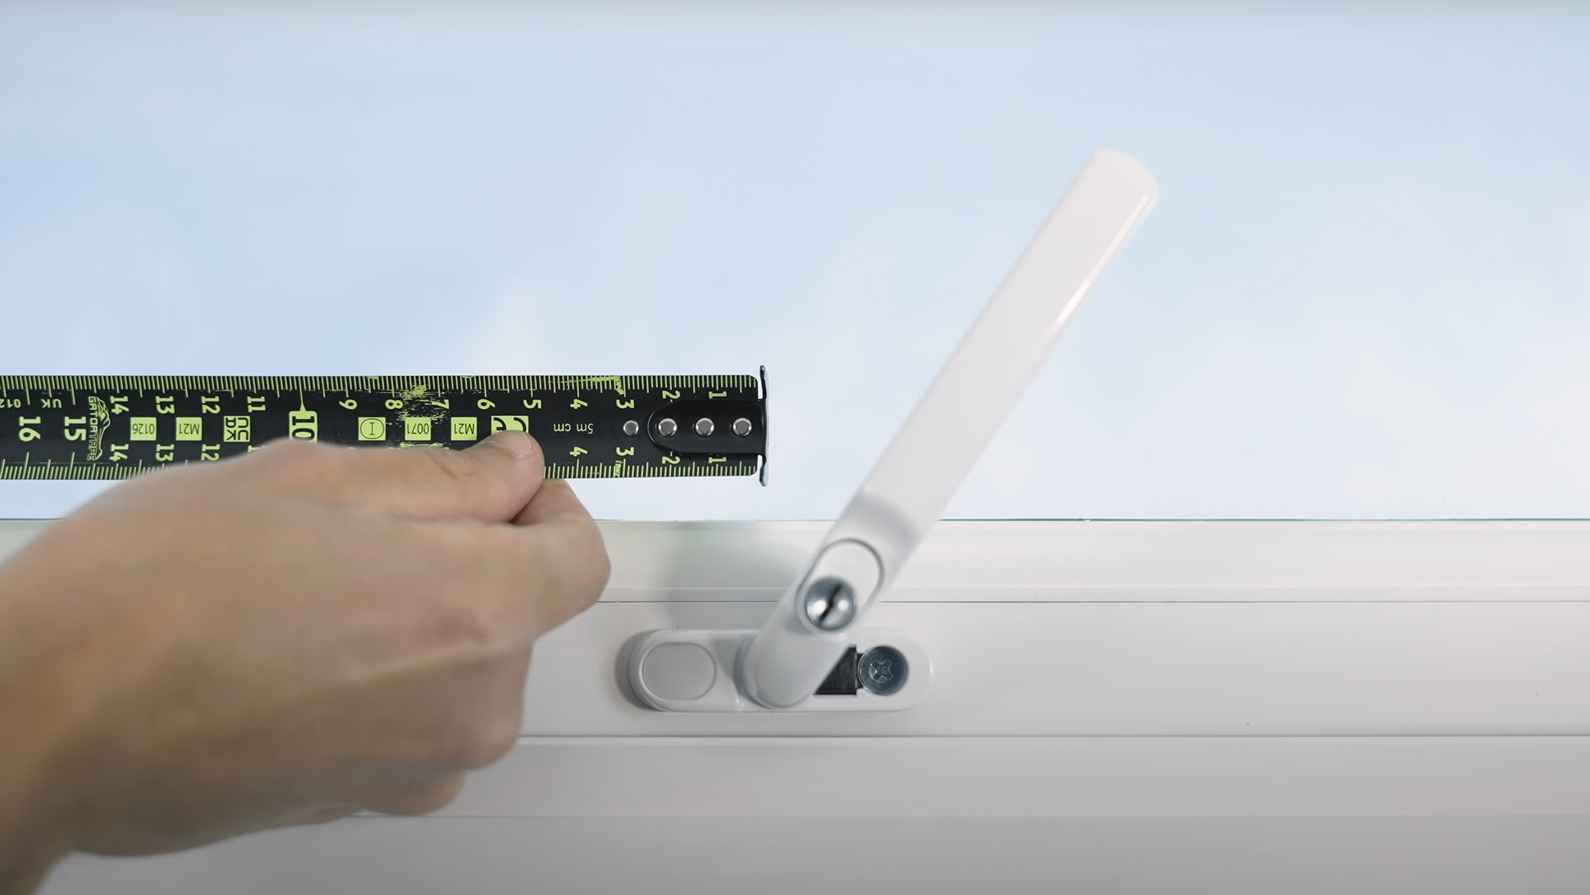
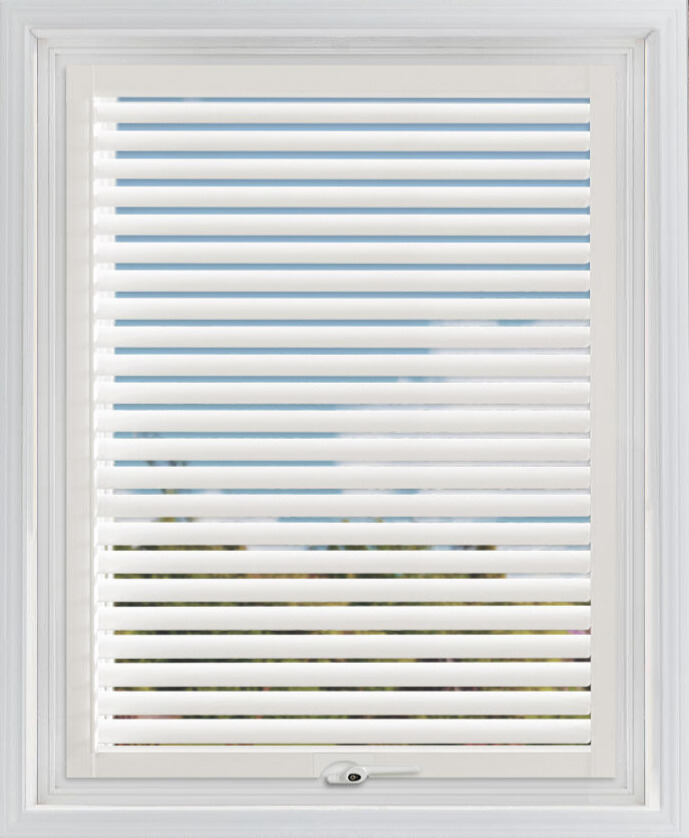
When measuring your bottom handle, always start from the left-hand side. Measure from the bottom-left corner of your window to the centre of the handle. We recommend opening the handle first and then measuring to its centre while fully open.
Make a note of this measurement and enter it as your handle position.
Pro Tip: In most cases, bottom handles are positioned at the centre of the window. If this applies to your window, simply select “Centre” for your handle position instead of entering a measurement.
Left Side Handle
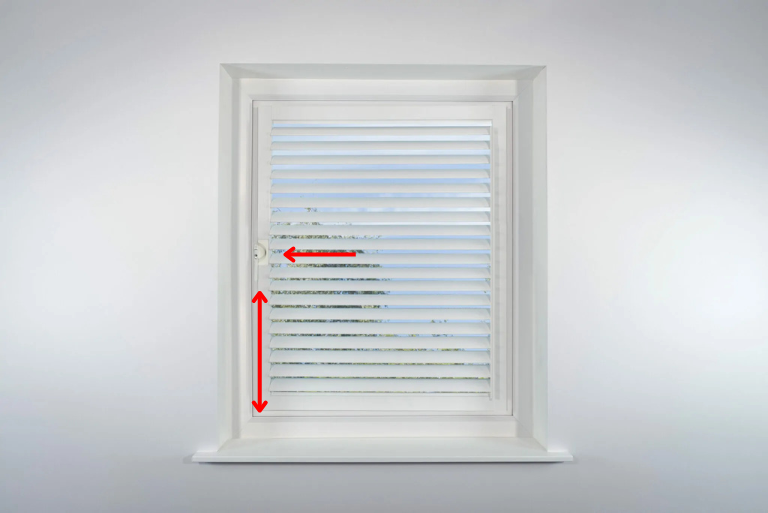
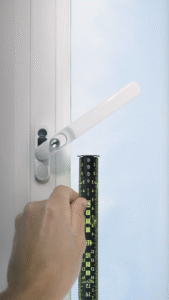
Step 6: Measuring Your Left Side Handle Location
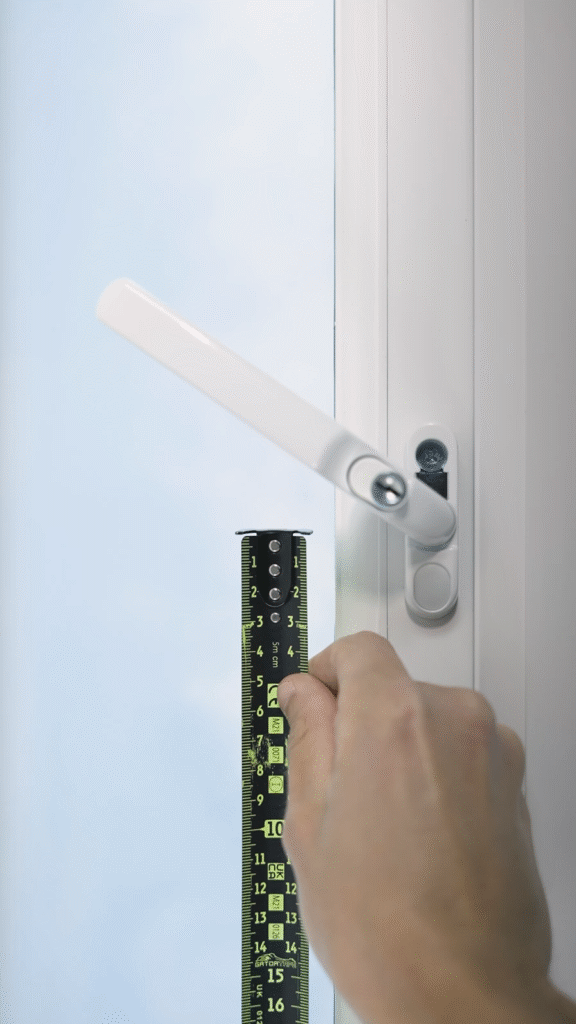
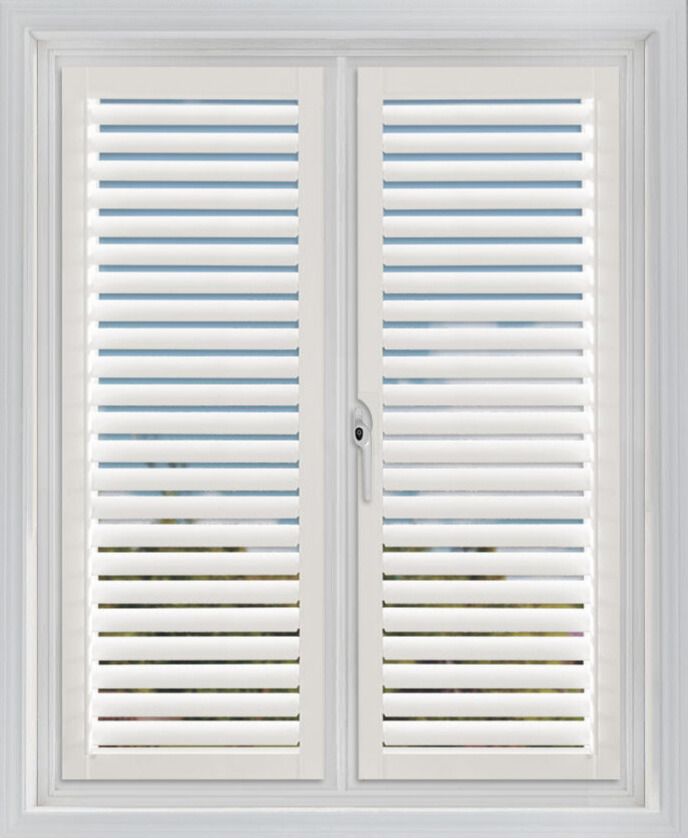
For left-side handles, measure from the bottom-left corner of your window to the centre of the handle. We recommend opening the handle first and then measuring to its centre while fully open. Make a note of this measurement and enter it as your handle position.
Make a note of this measurement and enter it as your handle position.
Pro Tip: In most cases, bottom handles are positioned at the centre of the window. If this applies to your window, simply select “Centre” for your handle position instead of entering a measurement.
Right Side Handle
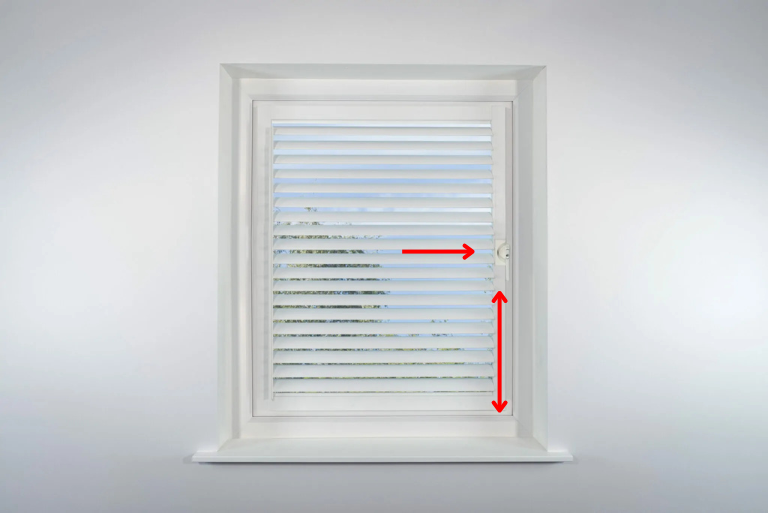
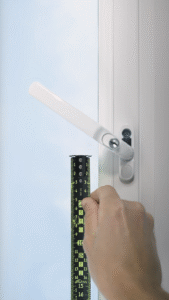
Step 6: Measuring Your Right Side Handle Location
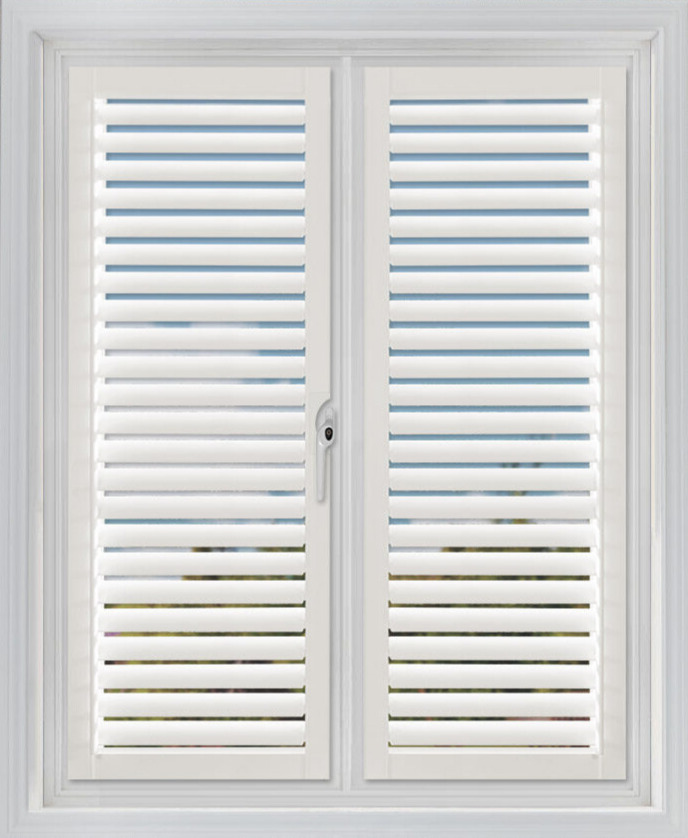
For right-side handles, measure from the bottom-right corner of your window to the centre of the handle. Again, open the handle first and measure to its centre while fully open. Record this measurement and enter it as your handle position.
Make a note of this measurement and enter it as your handle position.
Pro Tip: In most cases, bottom handles are positioned at the centre of the window. If this applies to your window, simply select “Centre” for your handle position instead of entering a measurement.
Have A Question?
We have a friendly team ready to help. If you have a question or enquiry please get in touch using this form, and we will get back to you as soon as possible. Or phone our team for a more immediate response.

